Tech Tool Guidance Tech Tool Guidance

 Shout out to Melody Casey in CIA for making this great Infographic to help you and your teachers Click on the image to see the full documen...

Wednesday Web Tool: Awesome Collection of Charts Comparing Digital Tools Wednesday Web Tool: Awesome Collection of Charts Comparing Digital Tools

Sometimes when you are creating a project or assignment, you have an idea of the end product in mind but you don't know which w...

Wednesday Web Tool: Vocaroo Wednesday Web Tool: Vocaroo

Vocaroo is a tool that allows students and teachers to create audio records that can then be used in slide shows, presentations, project...

Wednesday Web Tool: Graphite Wednesday Web Tool: Graphite

Graphite Need a place to find a great app or website to go along with what you are teaching in class? Graphite is a great resource for ...

TwistedWave! Need a resource to trim an audio clip? Use TwistedWave to import your audio and find just the portion you want to use in you...

Wednesday Web Tool: Time Toast Timelines Wednesday Web Tool: Time Toast Timelines

A great end of the year project idea is to have students create timelines. Timelines can be of any length, so think about having the student...

Showing posts with label web tools. Show all posts

Tuesday, September 8, 2020

Tech Tool Guidance

 Shout out to Melody Casey in CIA for making this great Infographic to help you and your teachers

Click on the image to see the full document.


Wednesday, February 25, 2015

Wednesday Web Tool: Awesome Collection of Charts Comparing Digital Tools


Sometimes when you are creating a project or assignment, you have an idea of the end product in mind but you don't know which web tool to use to create that end product or maybe you want to give your students some choices with the end product they produce.  Free Technology For Teachers by Richard Byrne has created an awesome collection of charts comparing web tools. The charts are available as a Google folder that you can add to your drive for easy reference as well as sharing via Google Classroom with your students.

To get started, click here to access the blog post on Free Technology for Teachers.


Next, click on the "charts in the folder" link on the blog post.

Click on the "Open in Drive" button...note you must be signed in to your Google account for this to work!

You should now see the folder in your Google Drive...it is saved there and ready for you to access at anytime!


Explore the charts and quickly find the best web tools for the product you wish to make!

Thanks to Richard Byrne for this fantastic resource!

Questions or Comments?
Please email me at: pamelabatchelor@johnston.k12.nc.us


Wednesday, January 21, 2015

Wednesday Web Tool: Vocaroo


Vocaroo is a tool that allows students and teachers to create audio records that can then be used in slide shows, presentations, projects, websites, etc. Other than the website, all that is needed is a microphone.

Vocaroo is easy to use. To get started, go to www.vocaroo.com. Click the button to start the recording.  


There may several prompts to allow access to the camera and microphone. Click to allow access.  


Record the message, and click stop when finished.


When done, there is an option to retry, listen or save the recording.


There are several options to save/share the recording: Link, email, embed, download audio file, and QR code.

Share, link or embed in desired location when done!

Questions or comments?
Email me at brandywhitley@johnston.k12.nc.us

Wednesday, September 17, 2014

Wednesday Web Tool: Graphite

Graphite
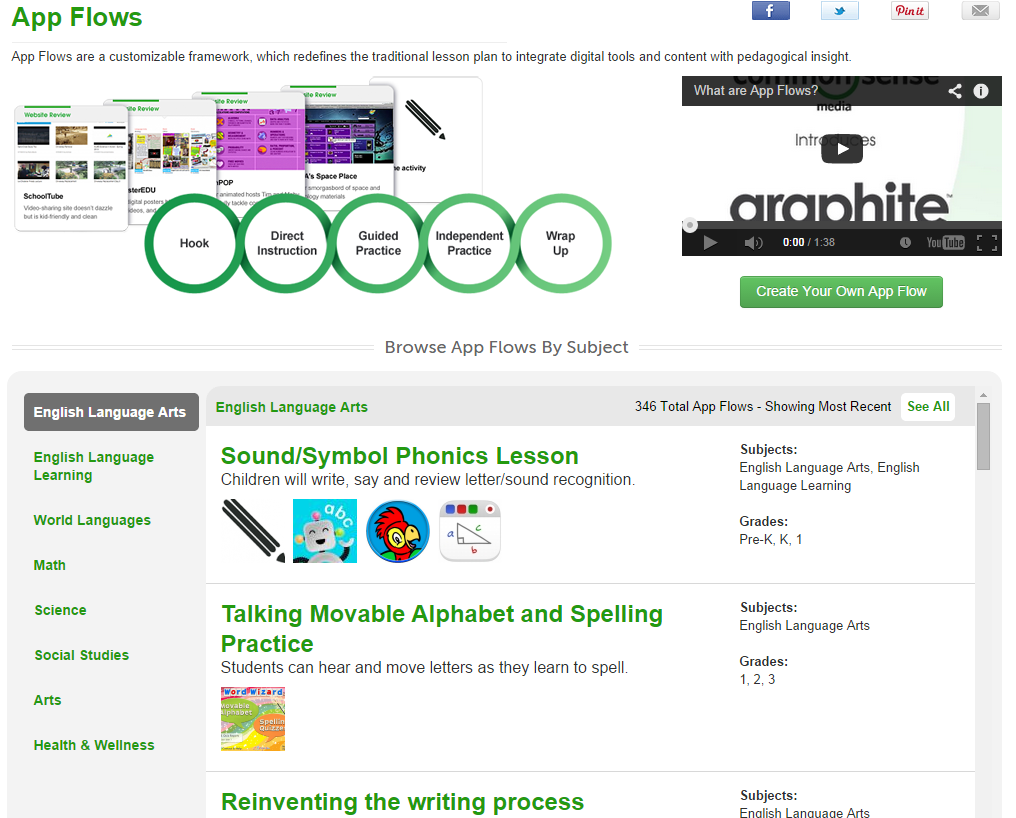
Need a place to find a great app or website to go along with what you are teaching in class? Graphite is a great resource for locating these tools. Organized by Common Core Standards, Graphite makes it easy to find resources that have been reviewed expert educators and your fellow teachers. Graphite even provides tips on how to use a new tool or even one you have already been using.

Start by going to www.graphite.org to create your free account. Once logged in, there are several ways for finding apps/websites of your choice. 

Reviews and Ratings:
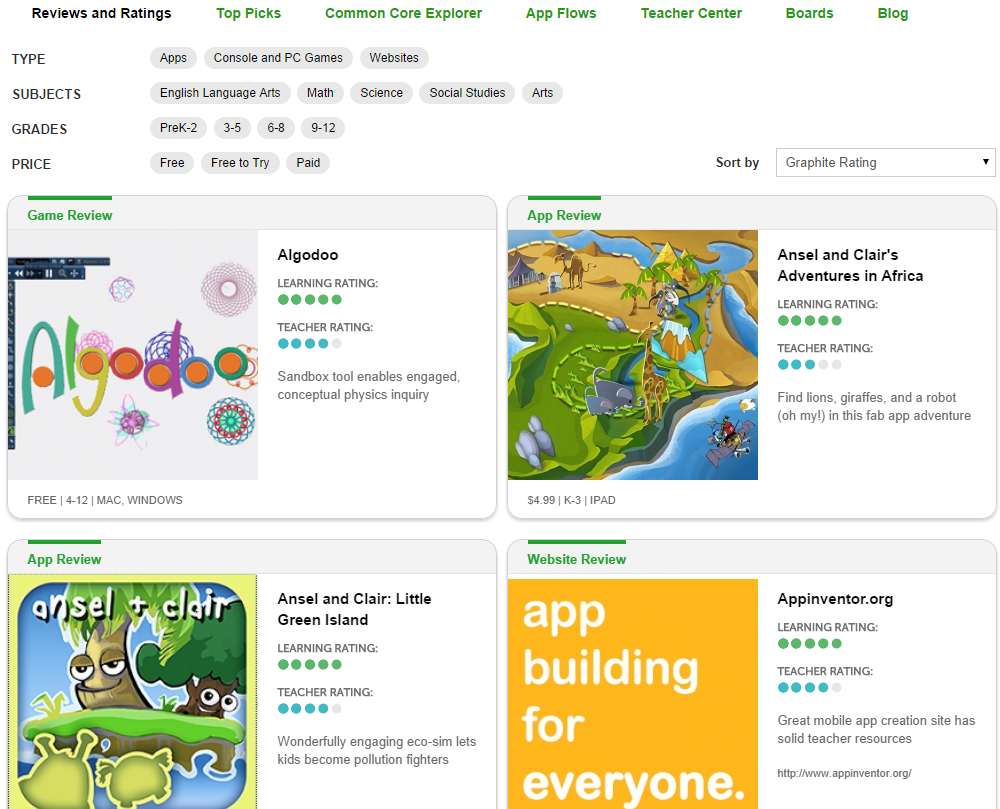
Here you can select by type (app, console/PC, website), subjects, grade, price, etc. You will also see featured apps/websites along with their ratings/type/price.


Top Picks:
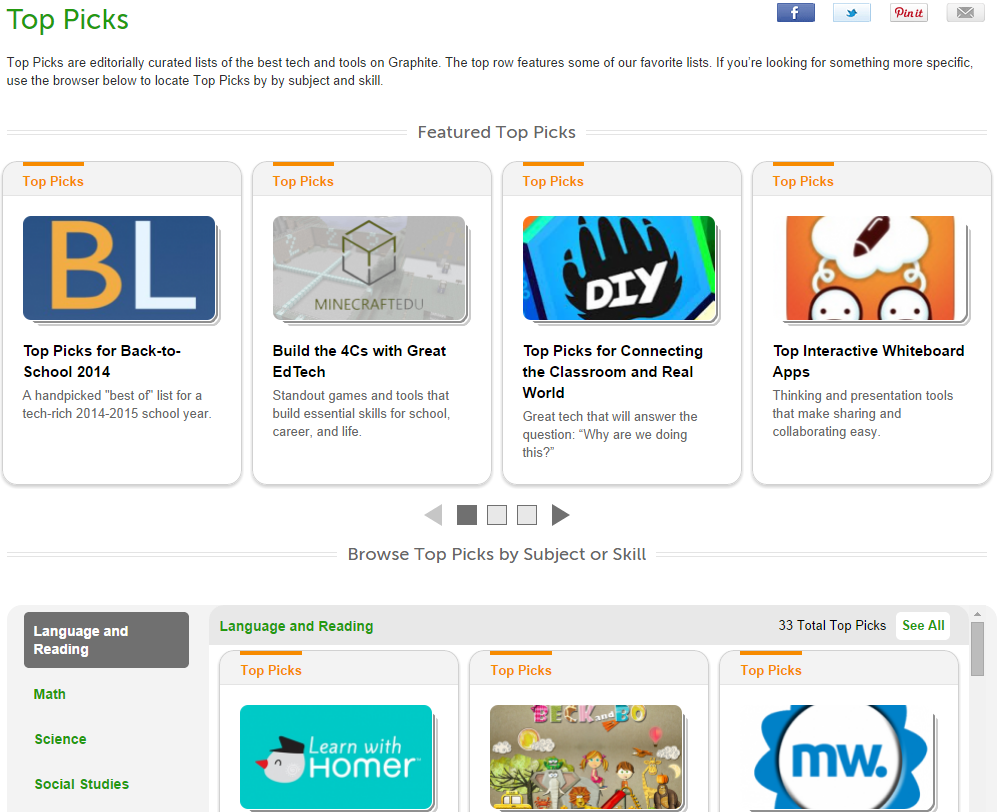
Find featured top picks along with top picks by subject/skill here.


Common Core Explorer:
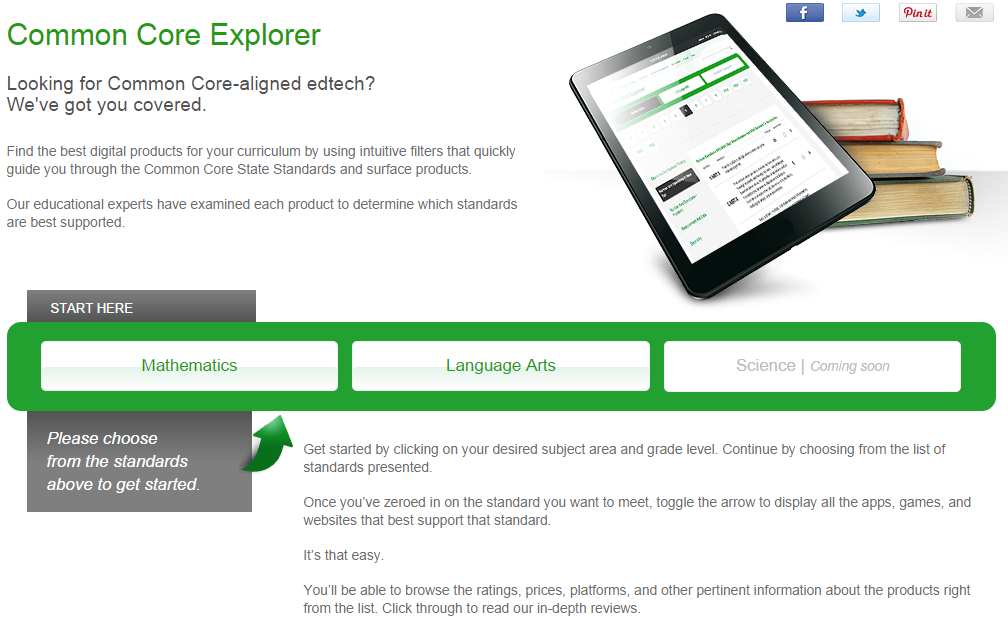
Use the Common Core Explorer to browse apps/websites by subjects: Math and Language arts. (Science coming soon!) Once you choose a subject area, select the grade level, strand, then specific standards. Select the green arrow to view the related resources.  


App Flows:
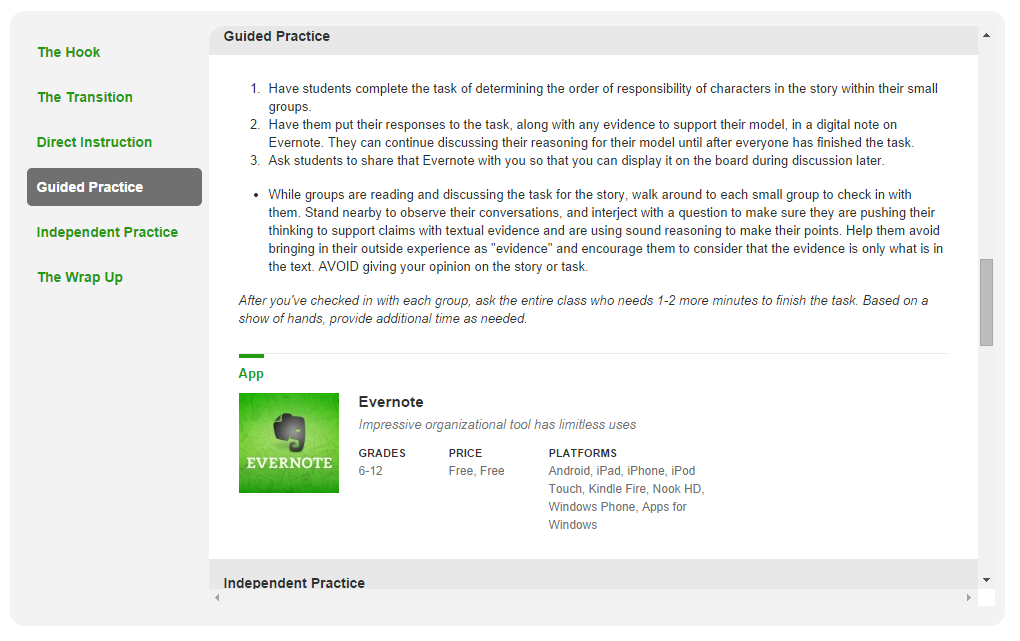
Click on App Flow to see how to implement the app/website with in specific lessons. Search by subject and choose a desired lesson. Here you will see 6 parts of a lesson: the hook, the transition, direct instruction, guided practice, independent practice, and the wrap up.


Teacher Center:
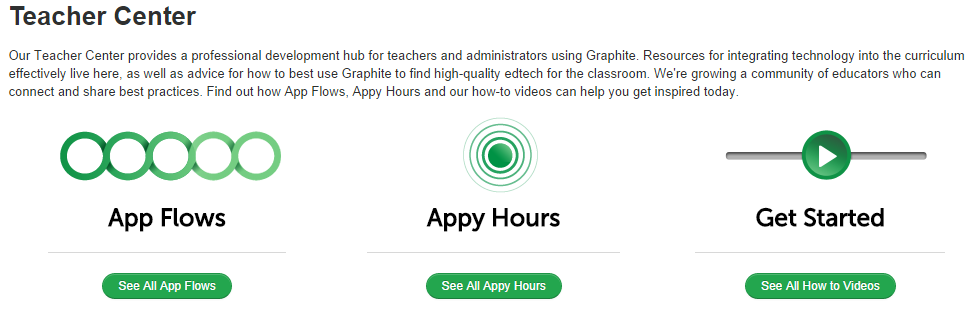
The Teacher Center is your place for how-to resources, teacher discussions, and a connection to App Flows lesson plans.

Boards:
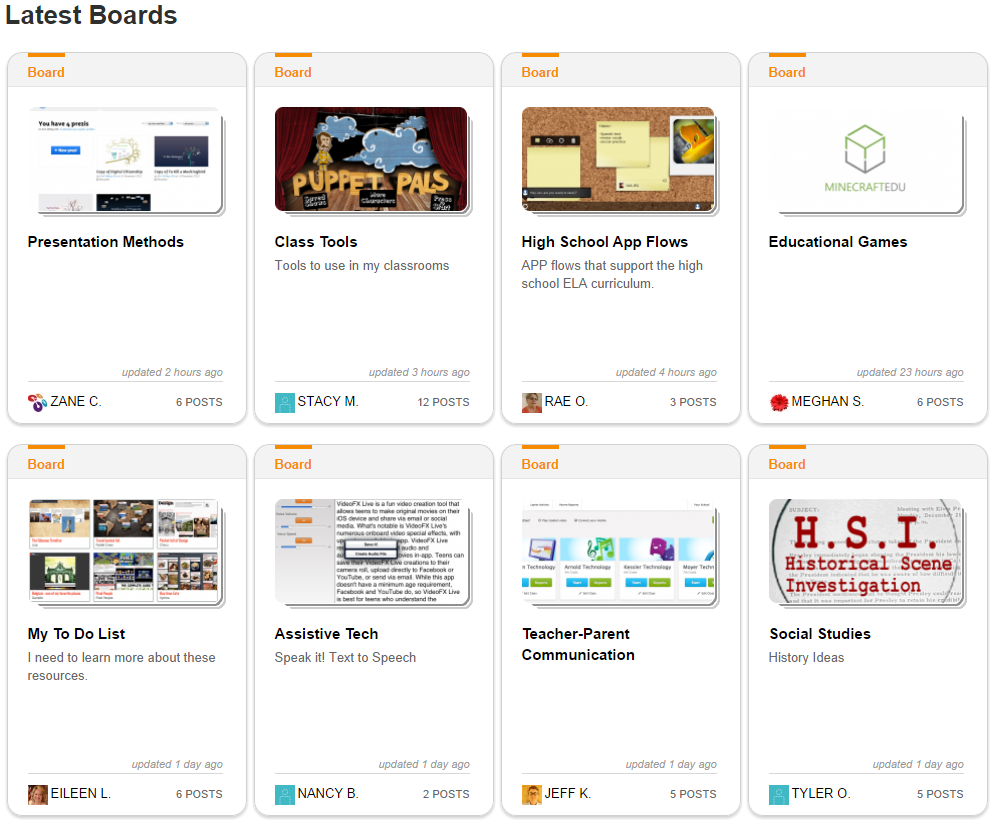
Boards are like Pinterest boards for Graphite. As you find apps/websites you like, pin them to a board and add your comments to them for your reference later.


Blog:
You know what a blog is, but check out this one for tips and ideas directly related to apps/websites from Graphite.


Questions or comments?
Email me at brandywhitley@johnston.k12.nc.us


Thursday, April 10, 2014

TwistedWave!

Need a resource to trim an audio clip? Use TwistedWave to import your audio and find just the portion you want to use in your presentation, class, website, etc. Use TwistedWave online, through its iphone/ipad app or on a mac!

To get started, you will need to have an audio file already in your documents whether it is on a flash drive, in your home directory, Google Drive, or SoundCloud account. Then you will go to: http://twistedwave.com/


For Web access, click on Online


Your next step will be to upload or import the file


This is what the “work area” looks like when you have imported the audio.


At this time, you literally drag the beginning, ending, or selections in the middle of the audio file then click delete on your keyboard to “trim” the audio. Below shows an area of the audio selected. If I press the delete button, it would delete this selection.


You can click anywhere in the stream to play starting at that location. Once you have it edited, go to file and save. Don’t forget copyright when using audio clips from different sources.


Wednesday, May 22, 2013

Wednesday Web Tool: Time Toast Timelines

A great end of the year project idea is to have students create timelines. Timelines can be of any length, so think about having the students recap all they have learned this year.  Another ideas is to have students capture an important span of their lives such as elementary or middle school years. Students could also create timelines of famous authors or world leaders, as well. This week's web tool, Time Toast, is an interactive website that students can use to create and share interactive timelines.

To get started, visit: www.timetoast.com


You will need to sign-up for a free account (you do not need an account to view timelines, only to create new ones).

Once you have created your account and signed in, you will click on "your timelines" in the top right corner of the page.


This will bring you to a list of all your timelines. Click on the "add a new timeline" button on the right side to create a new timeline.


Now the fun begins.  You will need to start by entering a few details and maybe a picture about your timeline.


Once you enter your timeline details, it is time to create your events. Each event can have a number of details including a picture, link to another website, and description for more information.


For this event, you can see we have added a title and date (both required for each event), an image, and a link to another biography. Adding links is a great way to add extra information to your timeline as well as interactivity. Links do not always have to be to other websites.  Teachers could link to a video, Google doc, or a map just as easily.

Once a timeline is finished, you have to publish it to allow others to see and search for your timeline. To do this, you need to go back to the "your timelines" section of your account. Once you click on "your timelines," you will see all of your timelines:


To publish your timeline, slide the button to the "public" setting. Now your timeline can be enjoyed by all.

We hope this helps you create a fun project for your students!  :)