A great end of the year project idea is to have students create timelines. Timelines can be of any length, so think about having the students recap all they have learned this year. Another ideas is to have students capture an important span of their lives such as elementary or middle school years. Students could also create timelines of famous authors or world leaders, as well. This week's web tool, Time Toast, is an interactive website that students can use to create and share interactive timelines.
To get started, visit:
www.timetoast.com
You will need to sign-up for a free account (you do not need an account to view timelines, only to create new ones).
Once you have created your account and signed in, you will click on "your timelines" in the top right corner of the page.
This will bring you to a list of all your timelines. Click on the "add a new timeline" button on the right side to create a new timeline.
Now the fun begins. You will need to start by entering a few details and maybe a picture about your timeline.
Once you enter your timeline details, it is time to create your events. Each event can have a number of details including a picture, link to another website, and description for more information.
For this event, you can see we have added a title and date (both required for each event), an image, and a link to another biography. Adding links is a great way to add extra information to your timeline as well as interactivity. Links do not always have to be to other websites. Teachers could link to a video, Google doc, or a map just as easily.
Once a timeline is finished, you have to publish it to allow others to see and search for your timeline. To do this, you need to go back to the "your timelines" section of your account. Once you click on "your timelines," you will see all of your timelines:
To publish your timeline, slide the button to the "public" setting. Now your timeline can be enjoyed by all.
We hope this helps you create a fun project for your students! :)
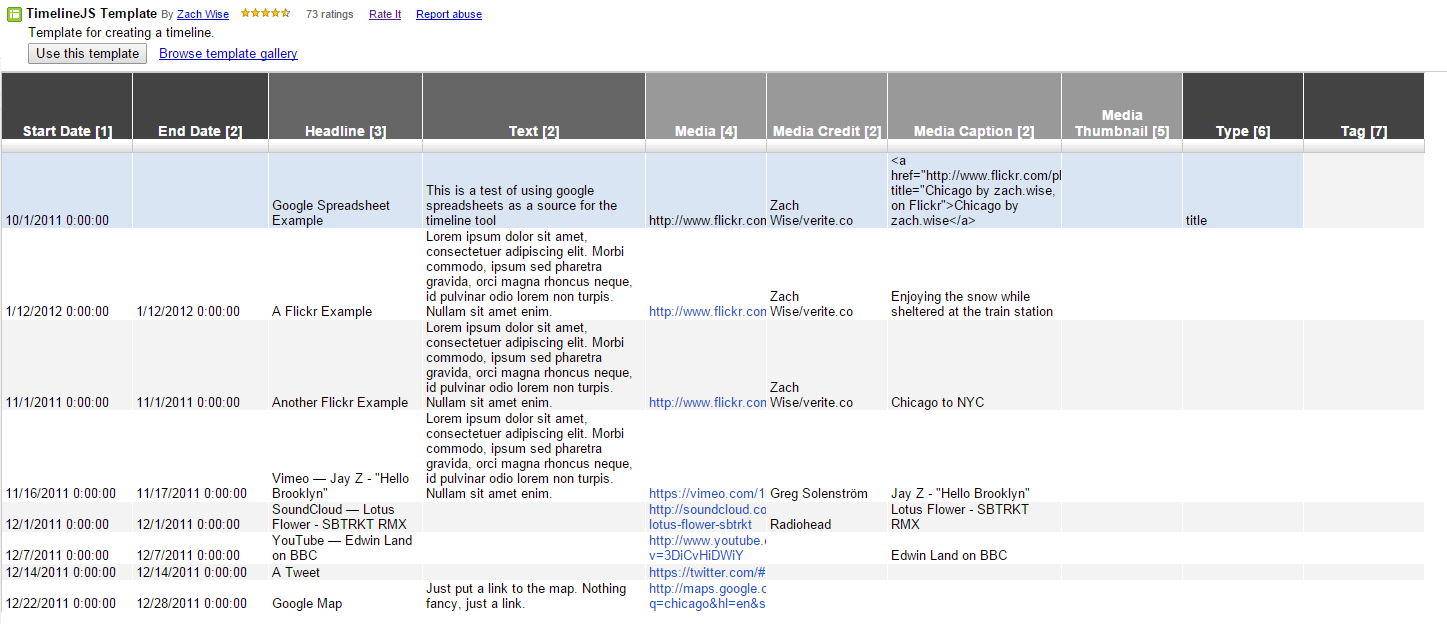
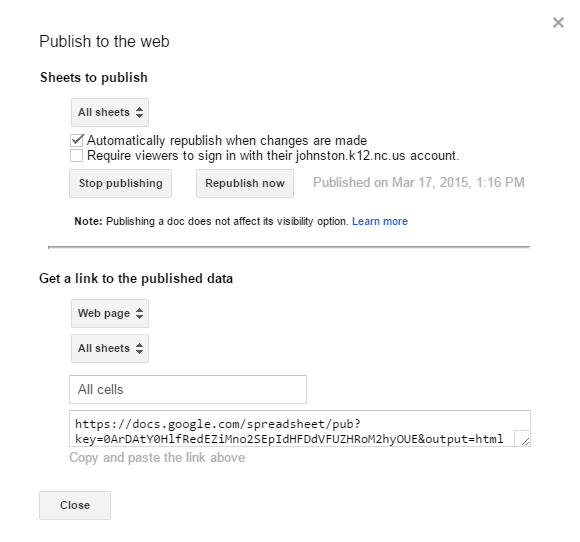
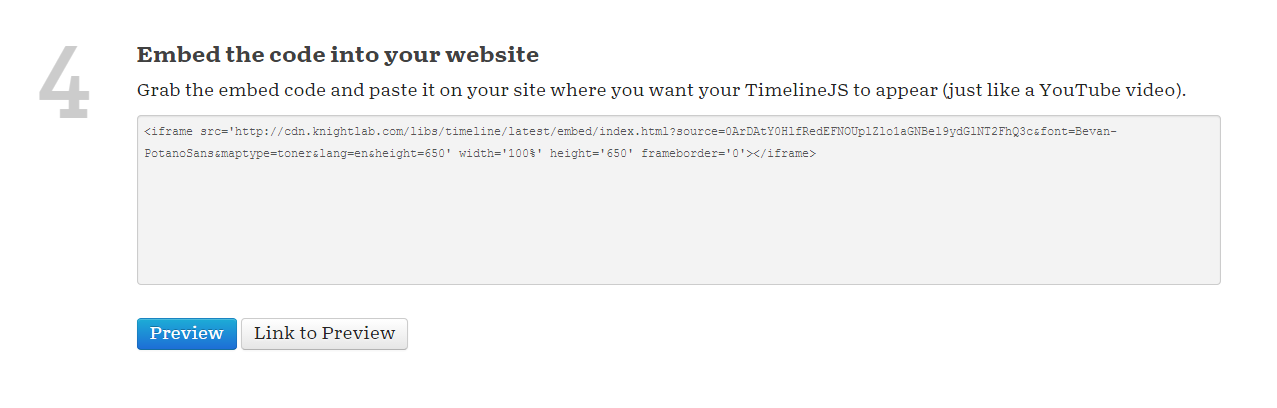
 Wednesday Webtool: Timeline JS
 Wednesday Web Tool: Time Toast Timelines